Introduction
“Pi-hole is a Linux network-level advertisement and Internet tracker blocking application which acts as a DNS sinkhole and optionally a DHCP server, intended for use on a private network. Pi-hole has the ability to block traditional website advertisements as well as advertisements in unconventional places, such as smart TVs and mobile operating system advertisements.”
This post will explain how I set up my home computing devices to use PiHole. The total setup time for it, is less than 30 minutes. Setting up a RaspberryPi at home is so much easier these days with the new tools provided especially with the Raspberry Pi imager localted here
Things Needed
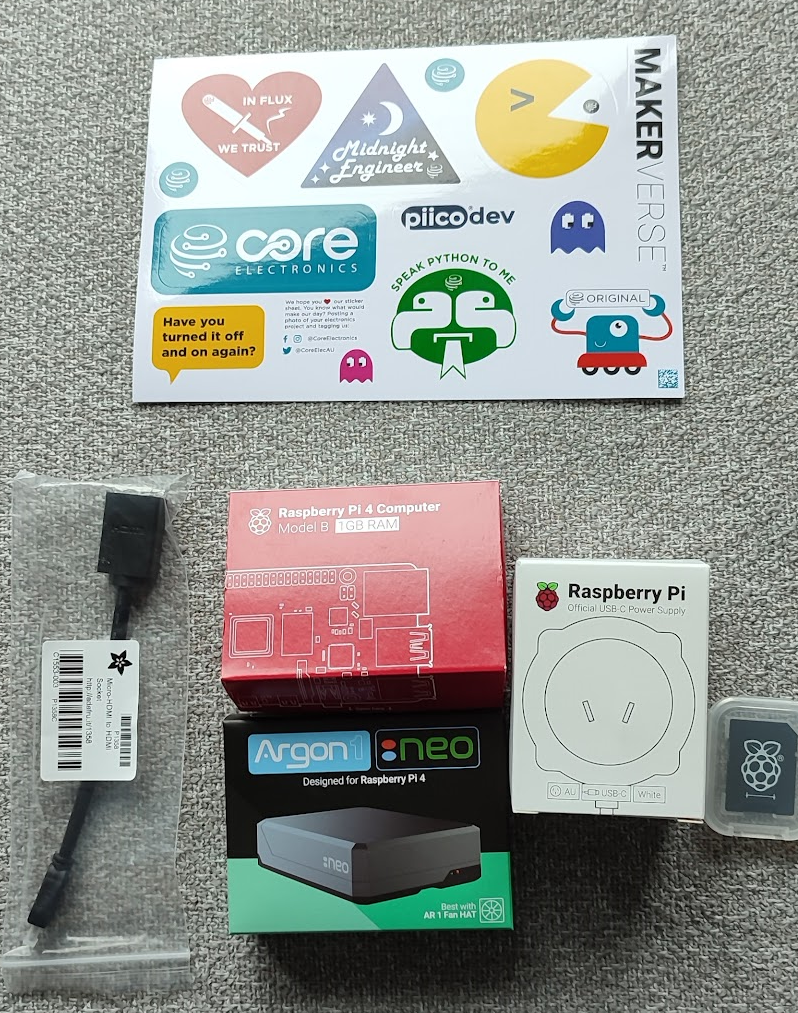
I made all my purchases from Core Electronics and so far, for me their service and delivery times are top-notch. It also came with some stickers.
- Raspberry Pi 4 Model B 1GB
- MicroSD card
- Raspberry Pi 4 Power Supply
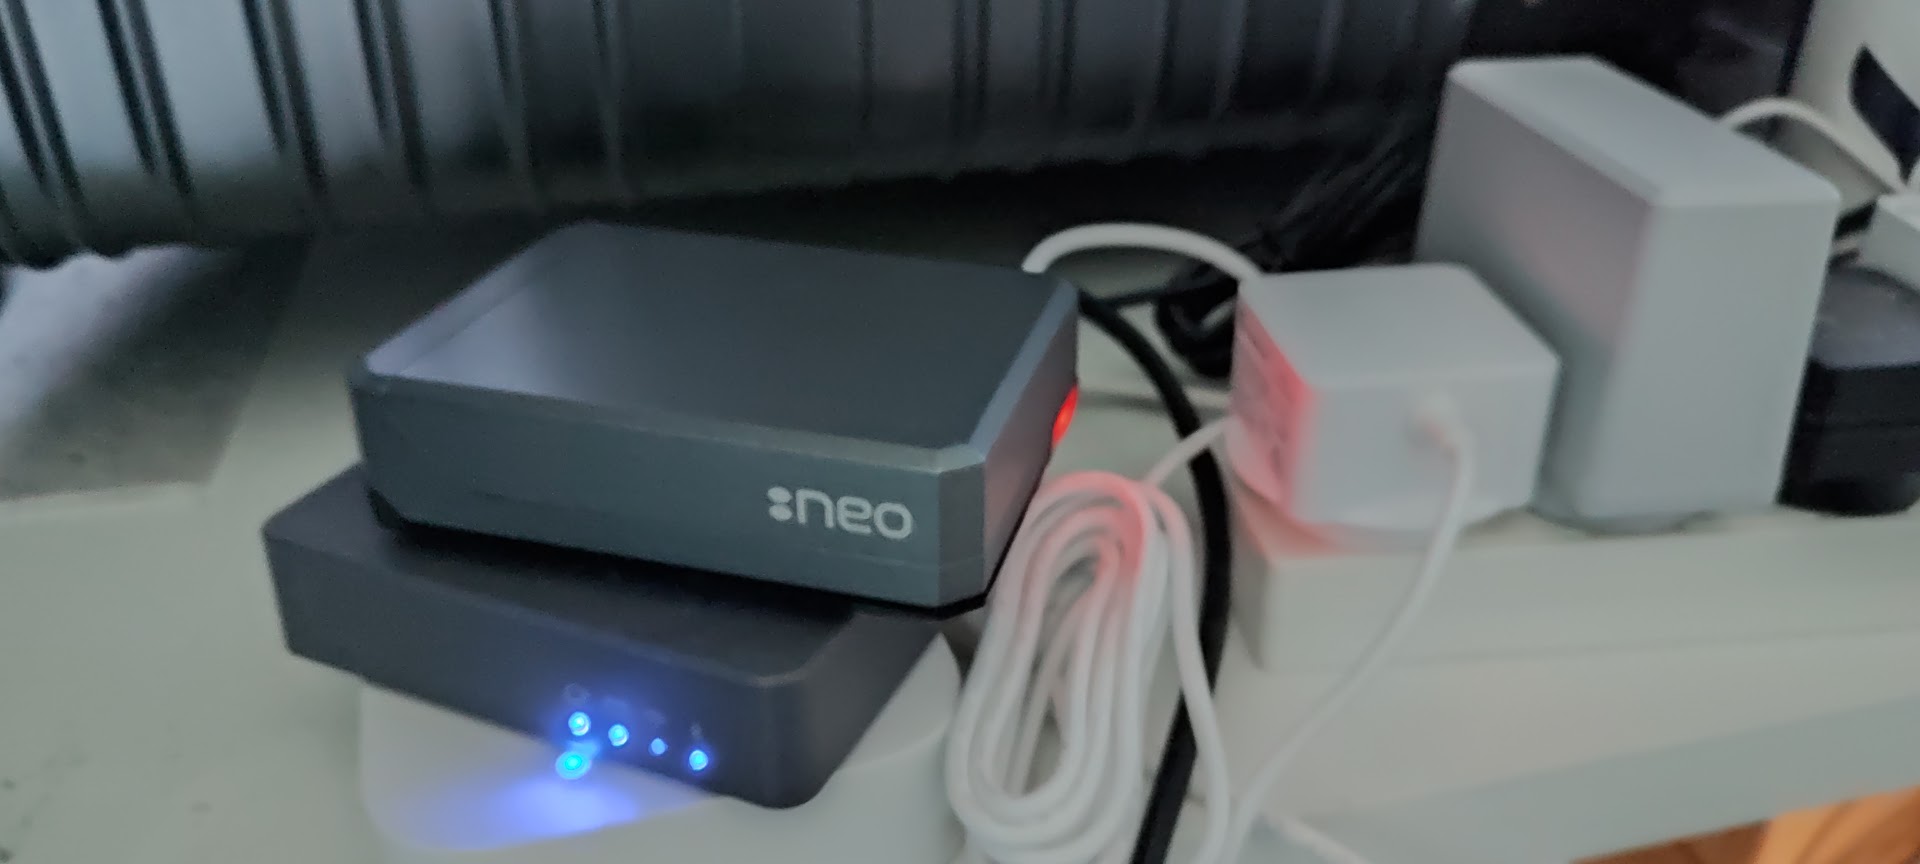
Besides that I also purchased
- Argon NEO Raspberry Pi 4 Case
- Micro-HDMI to HDMI Socket Adapter Cable (Not used in the end)
Steps
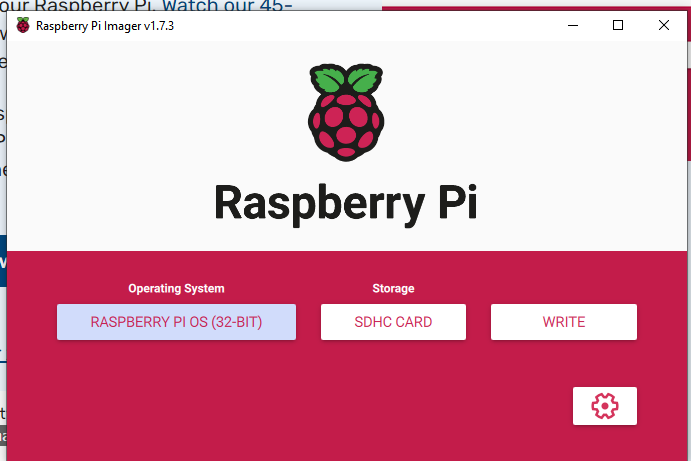
- The SD card I purchased came with NOOBs so I flashed it Raspbian. Using the RaspberryPi imager makes this step relatively simple.
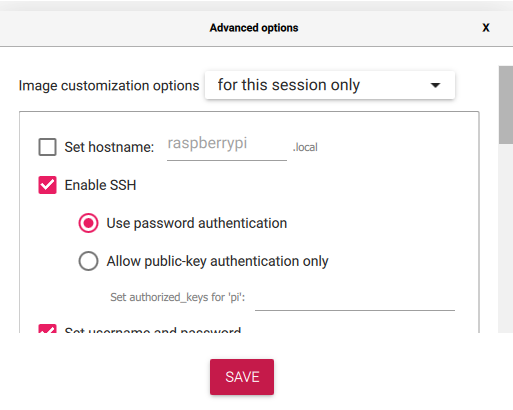
Remember to also configure the advance options
- Enable SSH
- Set username and password
- Configure wireless LAN
- Set locale settings
This step is important so that when your RaspberryPi starts, you can ssh into it instead of using a connecting monitor and keyboard to it.
- After that step is done, when you start the RaspberryPi, you can connect to it via
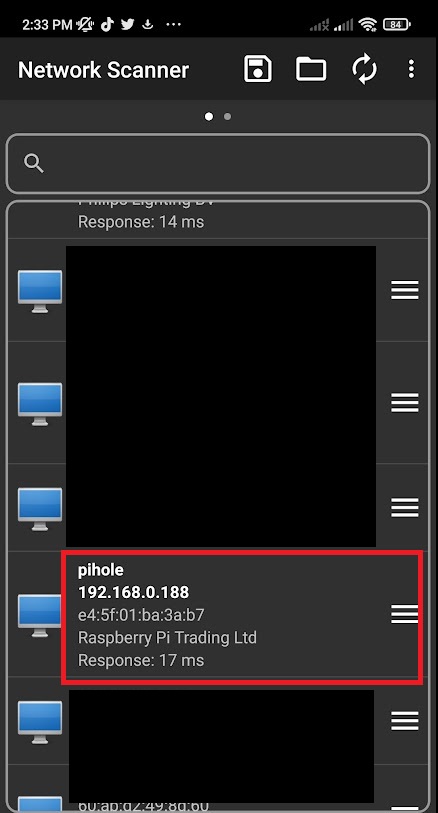
ssh. To do this, one way is to find out the RaspberryPi IP address for the initial time. There are a few ways you can do this, one way is to use thearp -aon the command line but you can also use an app that is able to scan your WiFi network for devices. The Network Scanner app on the Google PlayStore is an example of an app you can use. The RaspberryPi device will have a network hostname or vendor name as “Raspberry Pi”
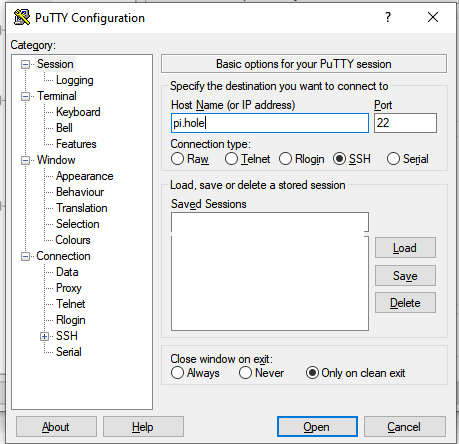
Another way without knowing the IP address would be to use the hostname. The hostname for the RaspberryPI is pi.hole as the hostname if you cannot obtain the IP address of the RaspberryPi. So, either way; it would allow you to ssh into the device.
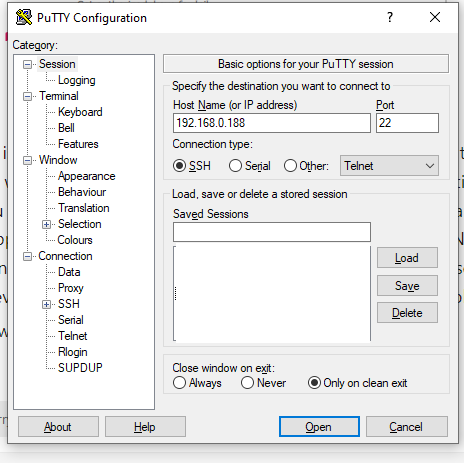
- Using
puttywe will connect to the RaspberryPi. You can either use the IP address you found earlier, or use the hostname.
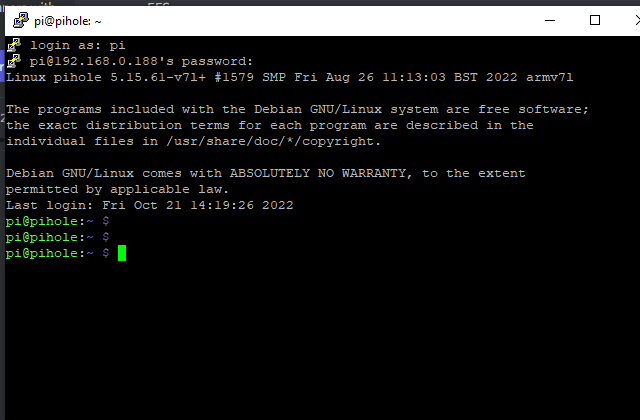
- Then you will need to provide the username and password you have setup earlier. If you managed to log in it, you should see something like the image below.
-
Now, we can begin installing PiHole itself. The instructions to install it can be found here. Since the installation process is pretty much automated from this step, it should be pretty straightforward. The only hurdle that you can encounter is when it asked you to set up a static IP address.
-
If so, you can set up a static IP address by following the instructions at this site
-
After you have completed the installation of PiHole, all that is needed to be done is to either set your devices to use PiHole as the DNS server or change the setting on the router itself. I decided to only change the settings on my devices locally as setting it on the router would invade the privacy of my housemates.
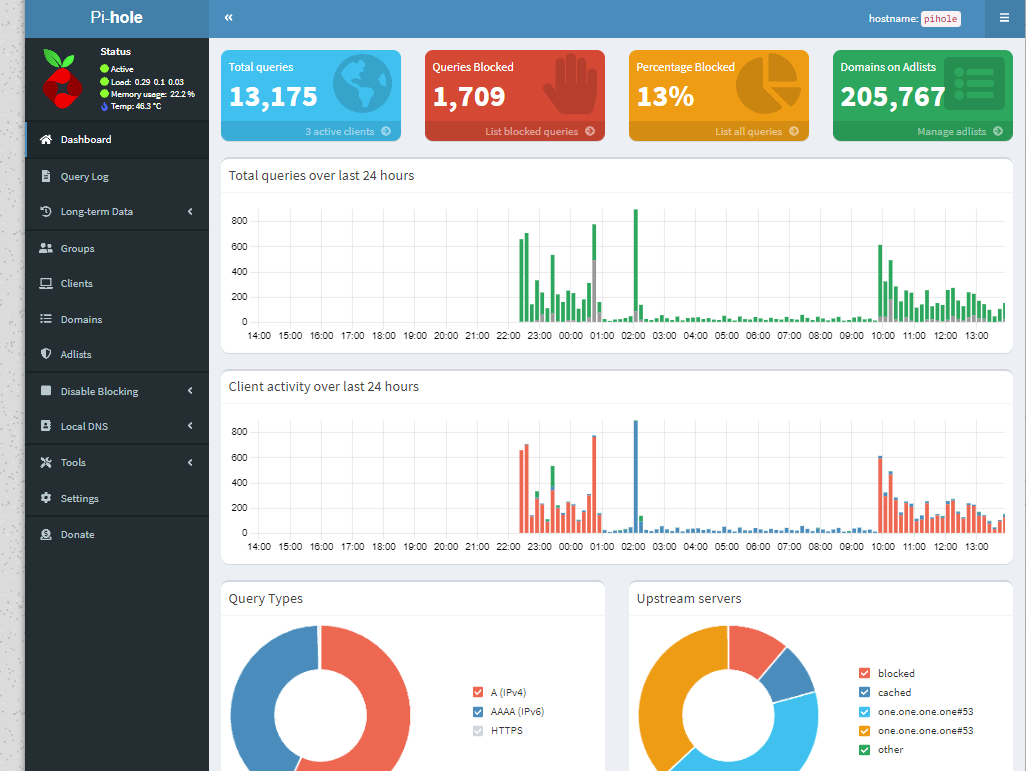
- It is also possible to access the web interface of PiHole. This is how mine looks after running it for a day.
- I have also added more adlist for PiHole to filter out as well. This includes.
- https://raw.githubusercontent.com/kboghdady/youTube_ads_4_pi-hole/master/youtubelist.txt (For Youtube ads)
- https://blocklistproject.github.io/Lists/tracking.txt (For tracking list)
Please also remember to go to Tools → Update Gravity so the list is refreshed.
Conclusion
It has become very easy to use RaspberryPi because of the availability of online resources and also the better tools we now have. Previously, it was slightly more complicated to enable ``ssh` and on the RaspberryPi as oftentimes, you would need to connect it to a mouse, keyboard as well as monitor for the initial setup but now it is made simple with the imaging tool.
The overall time taken to set it up is less than 30 minutes. Also please remember that even though having a PiHole setup is nice, it will also be useful to still run extensions that block ads if you wish to not see ads.